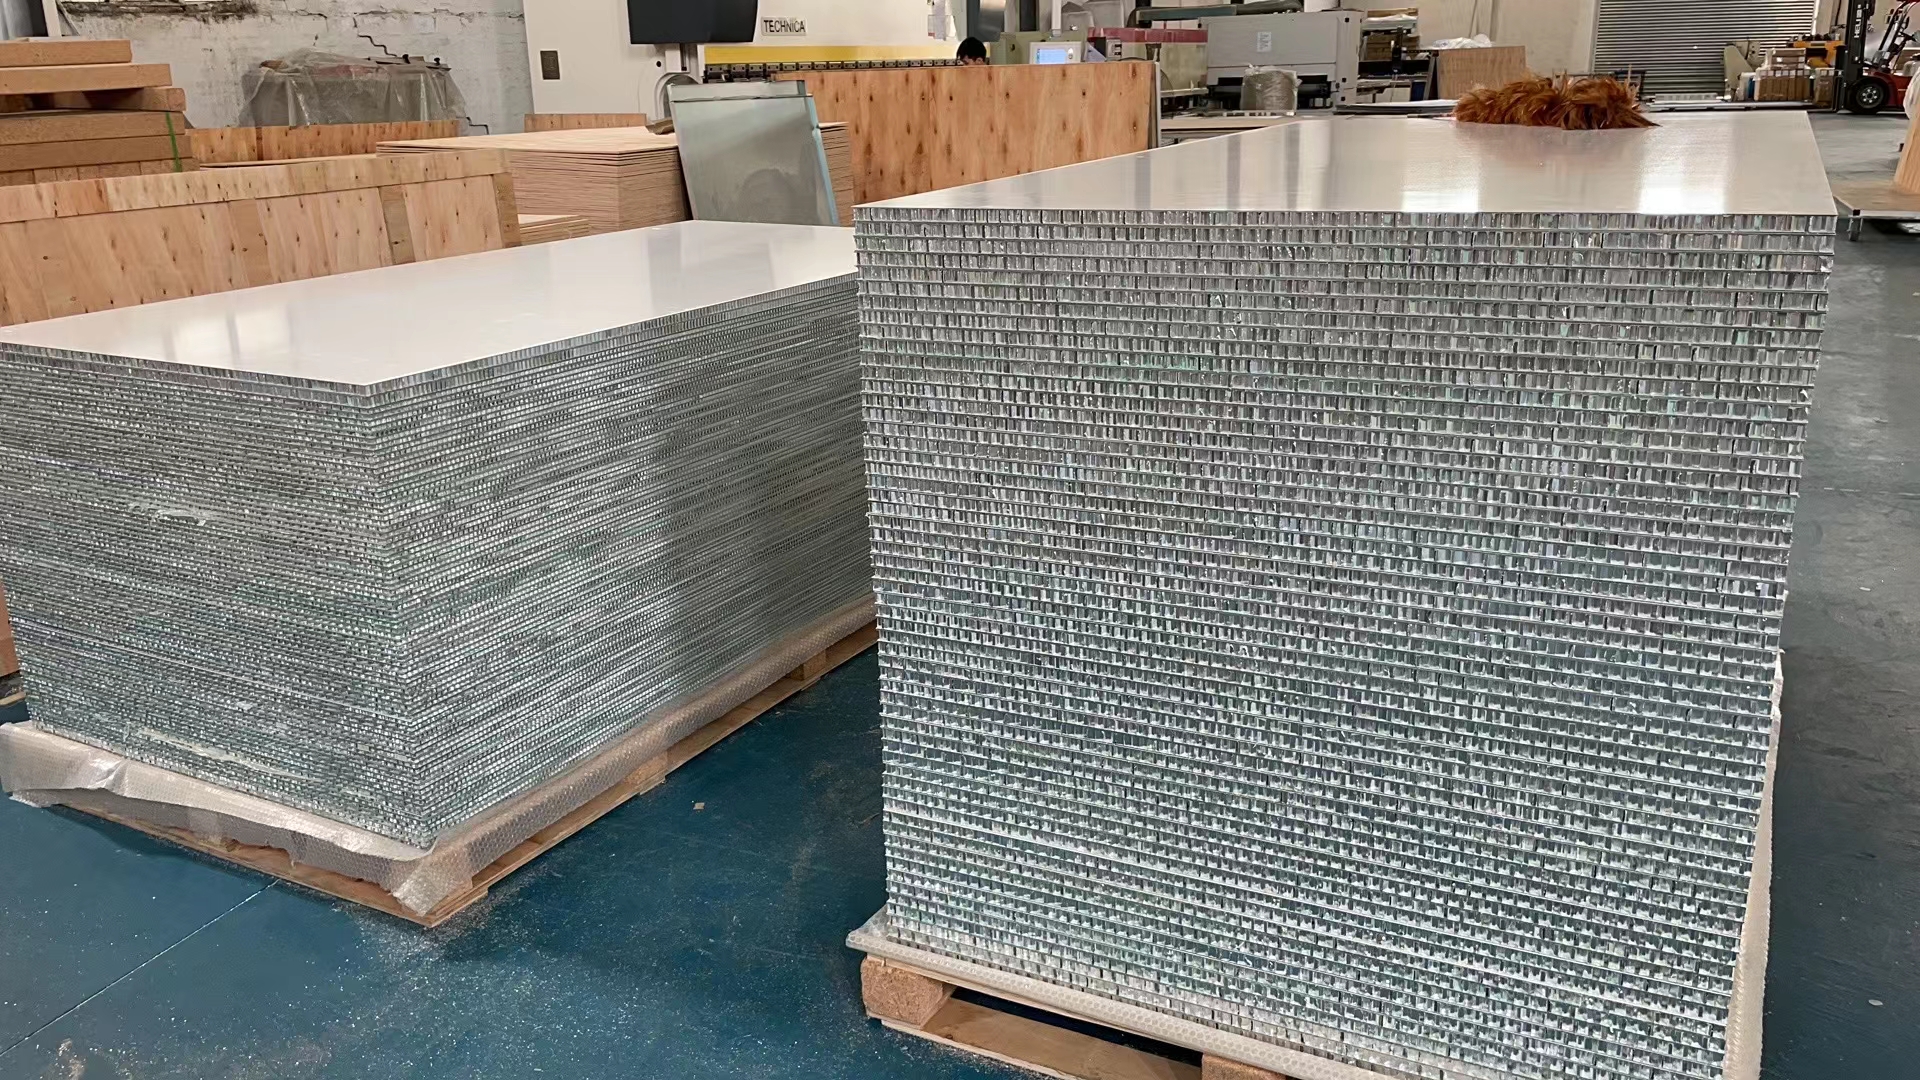
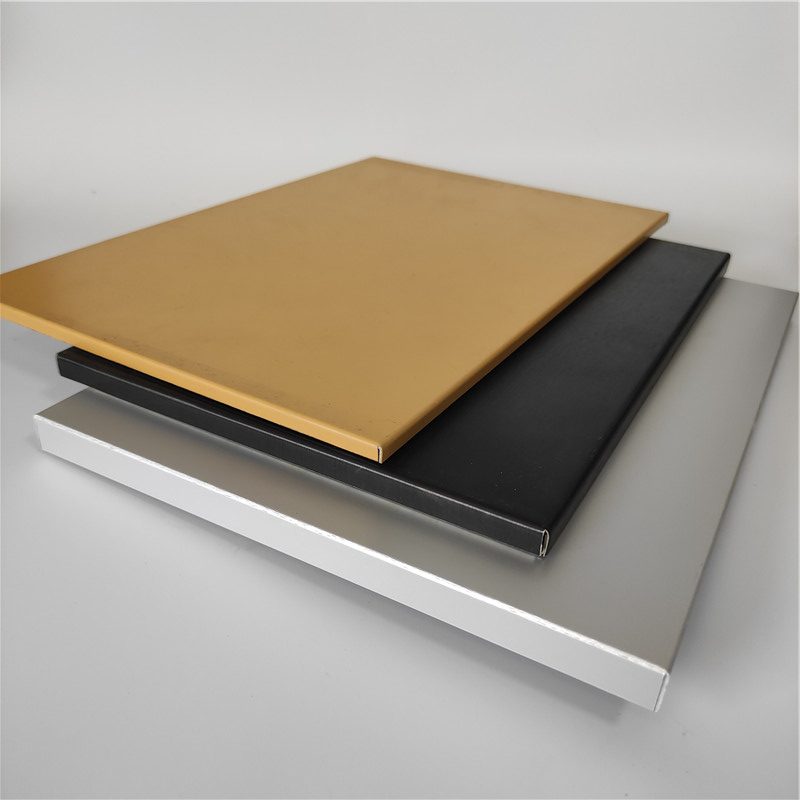
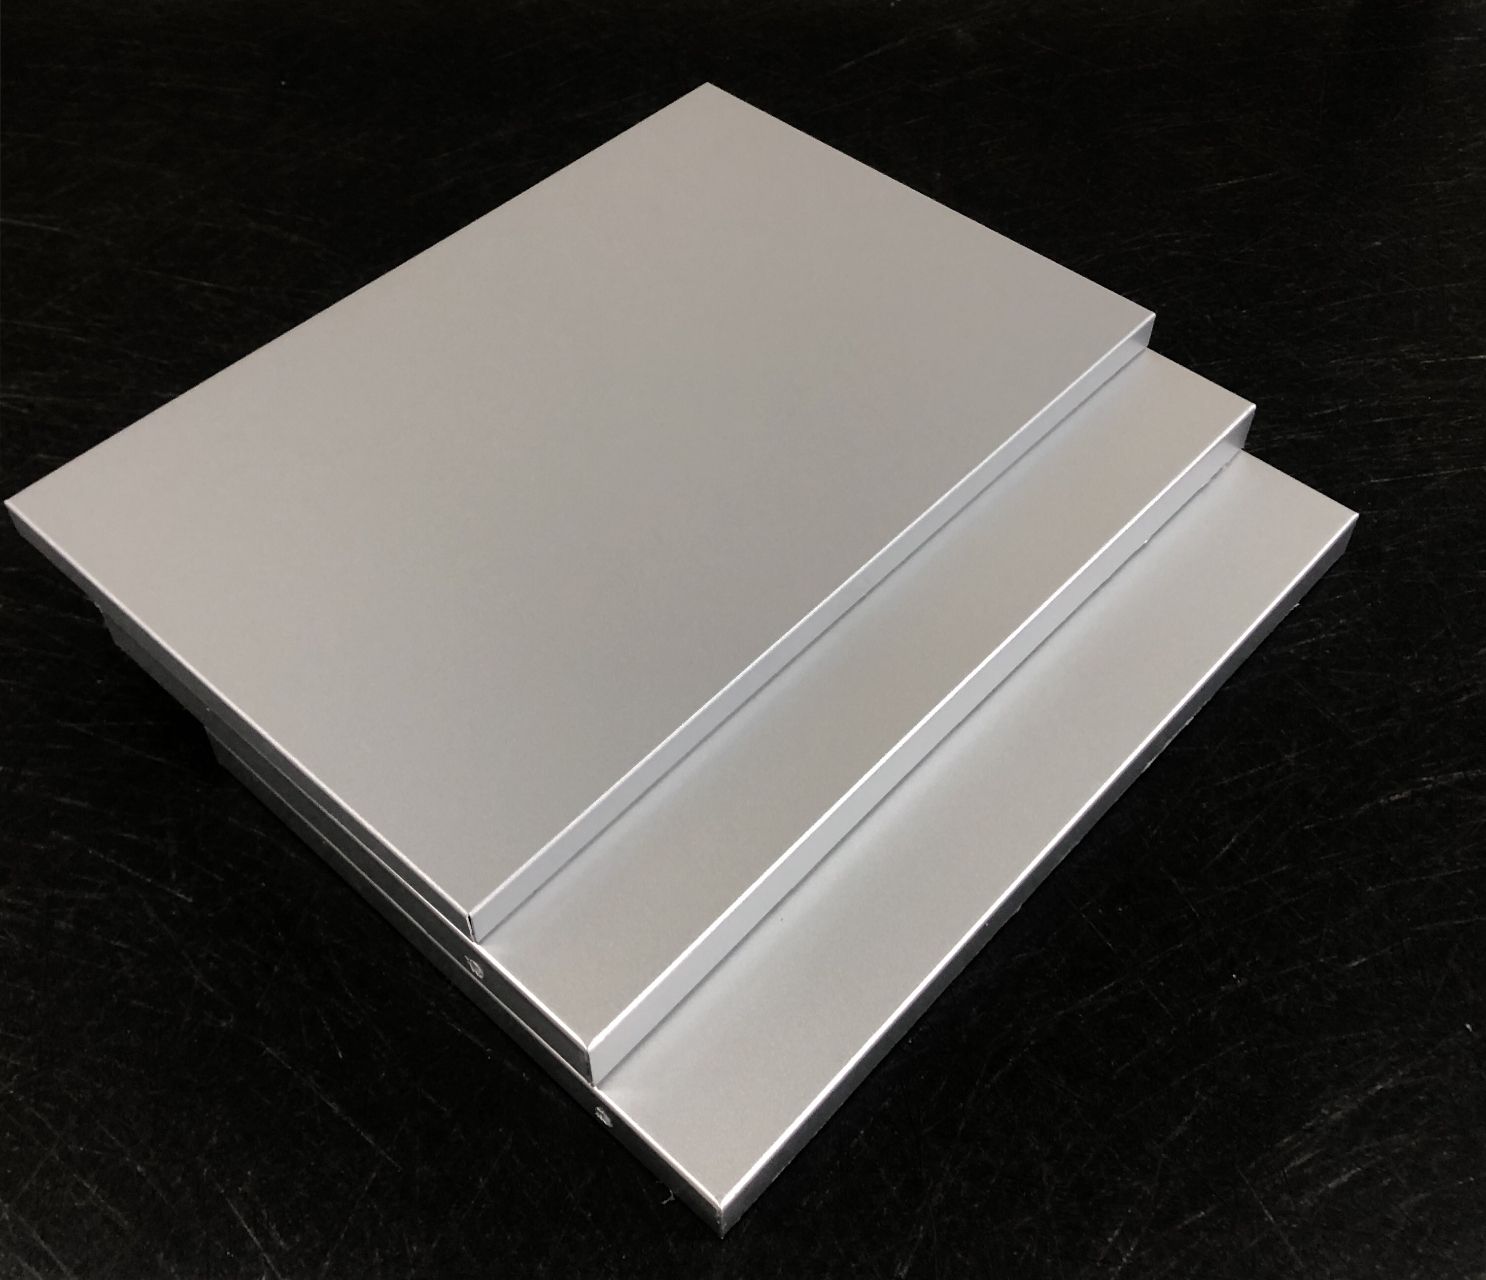
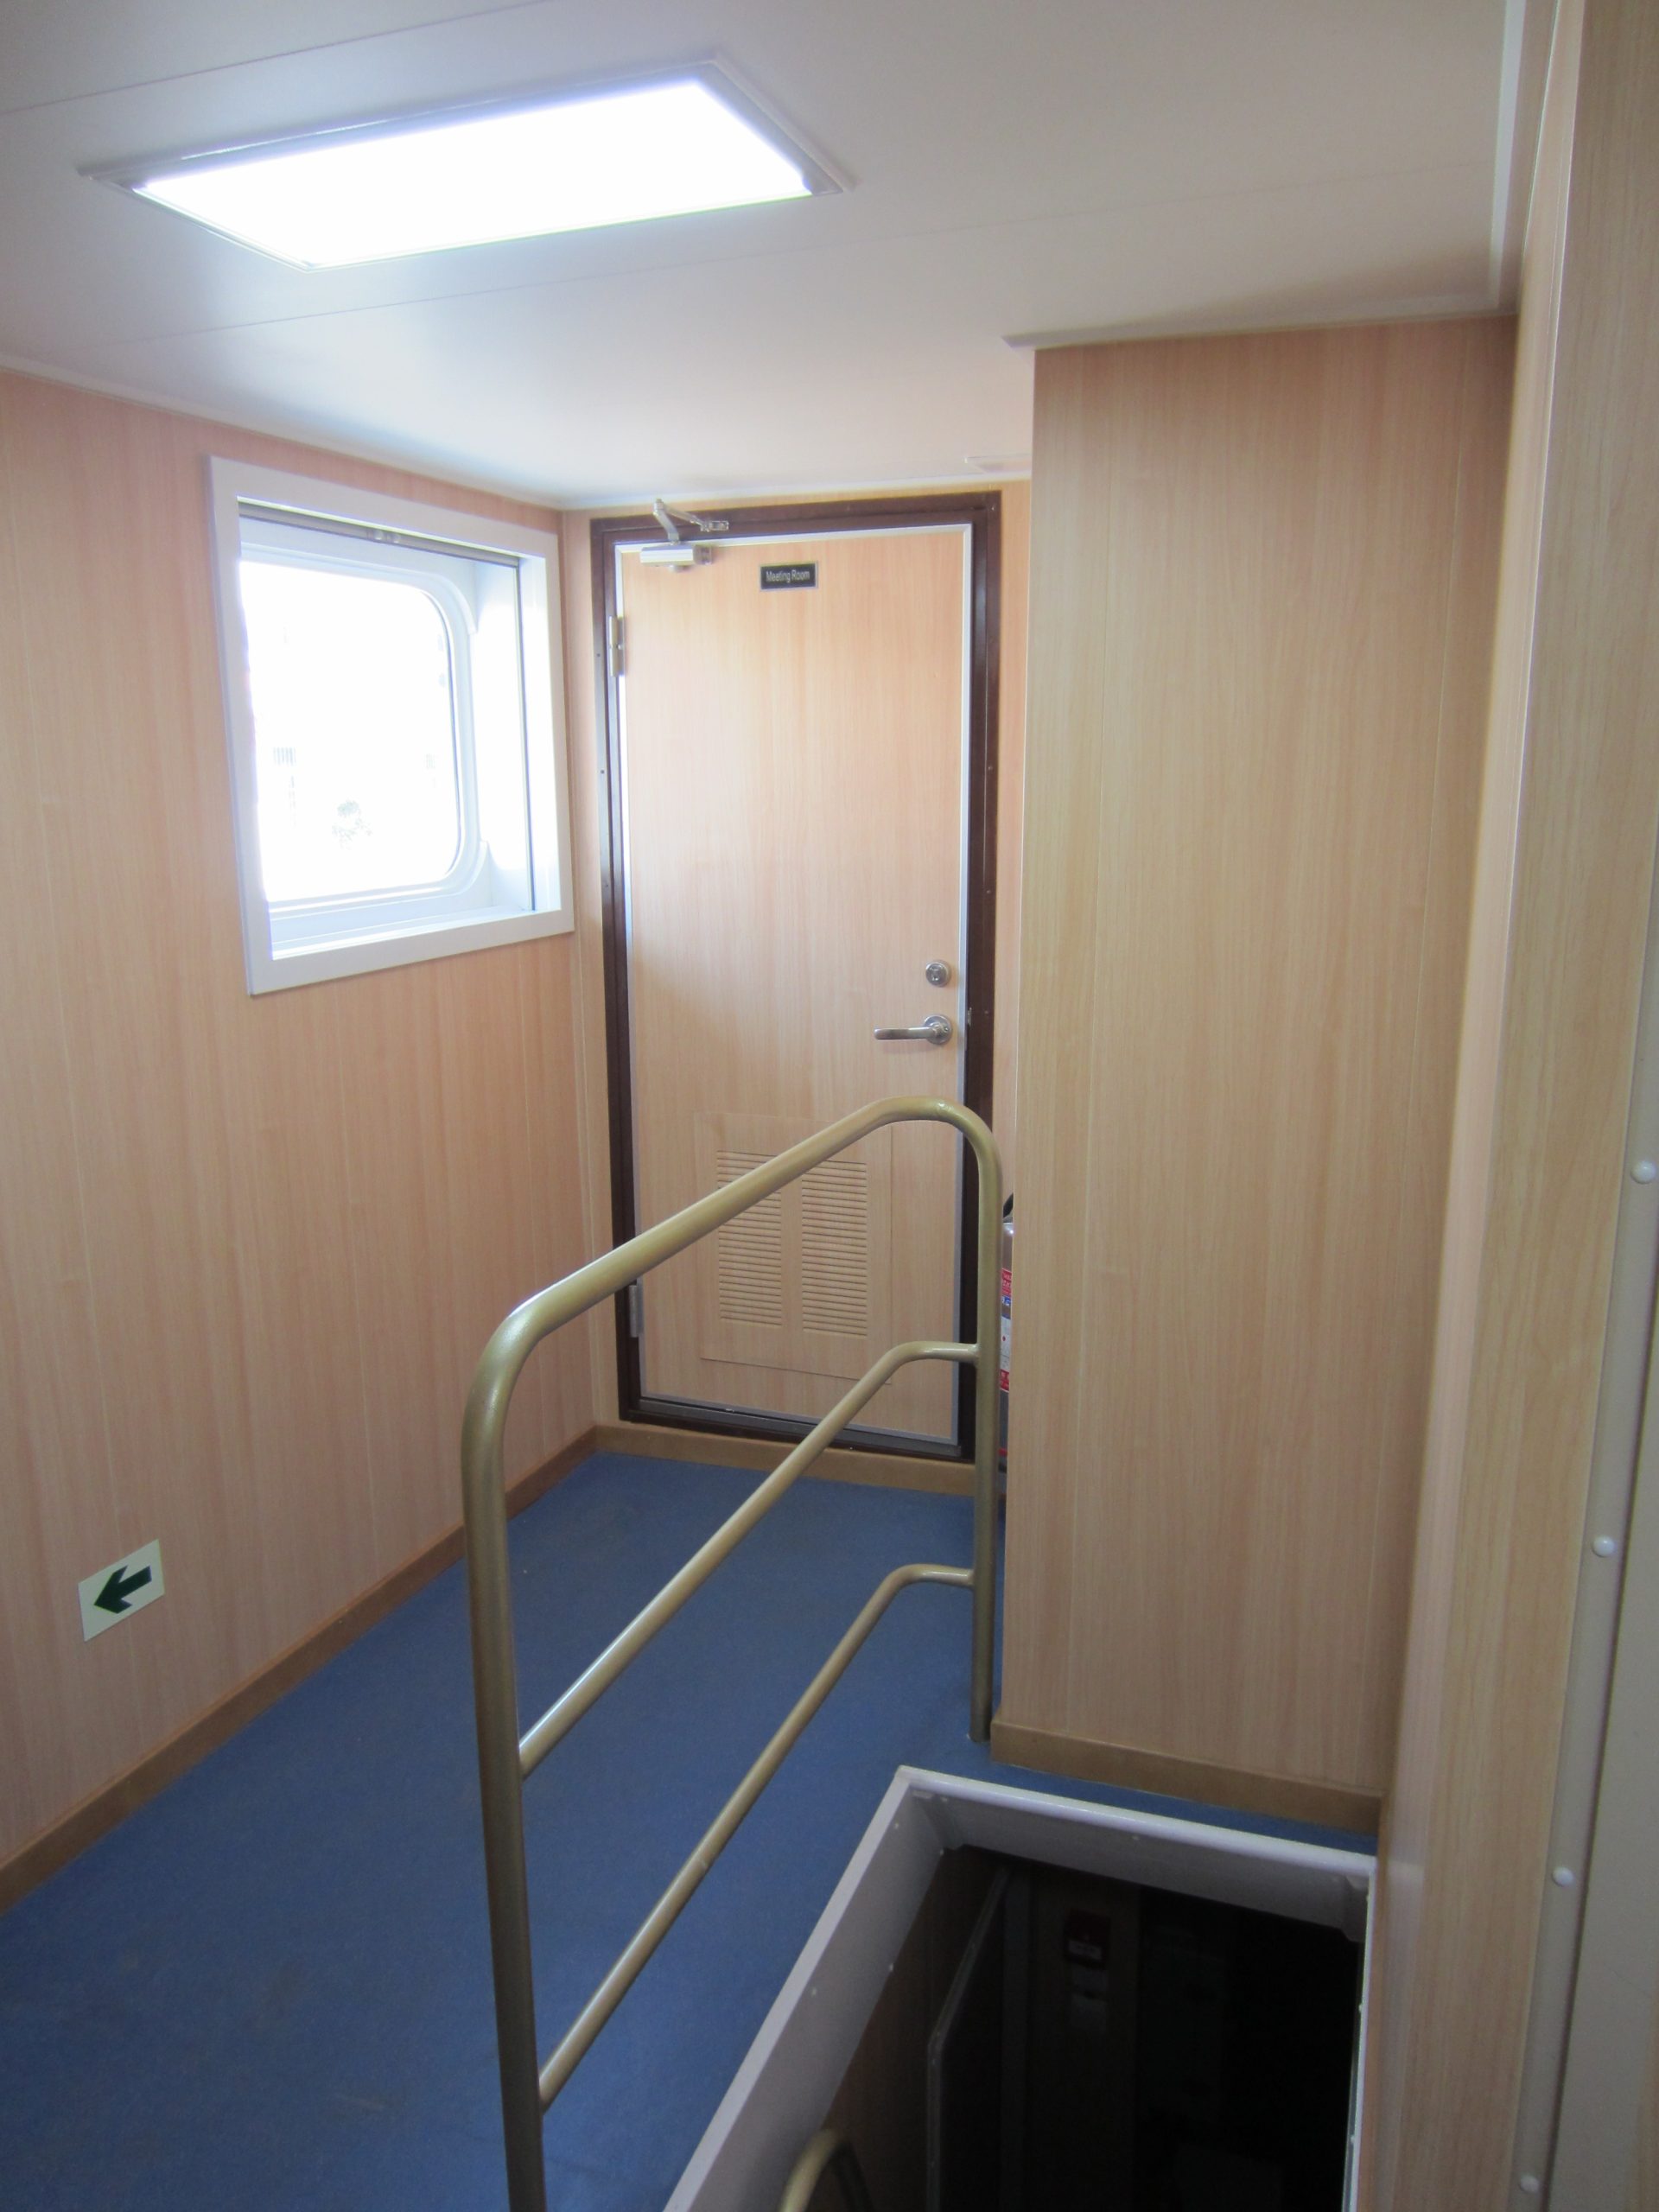
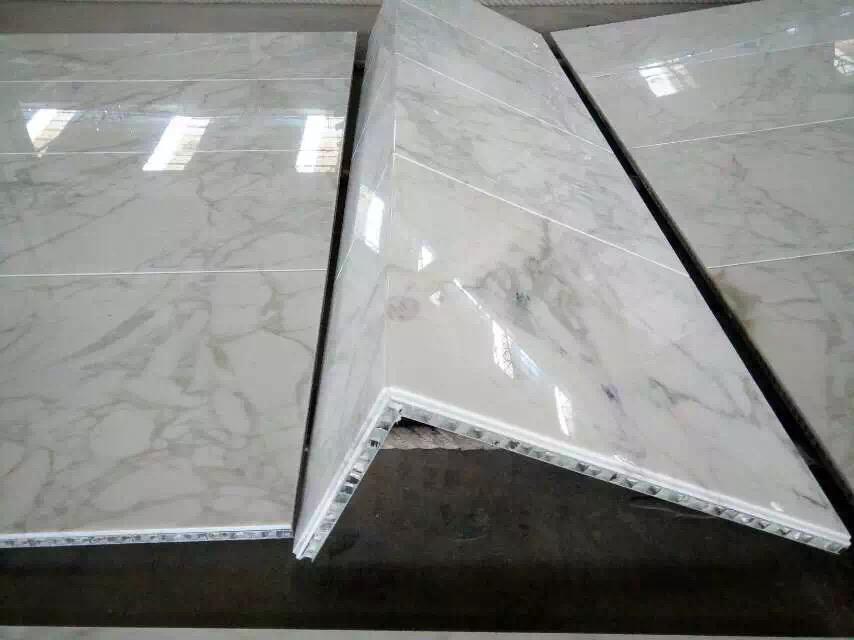
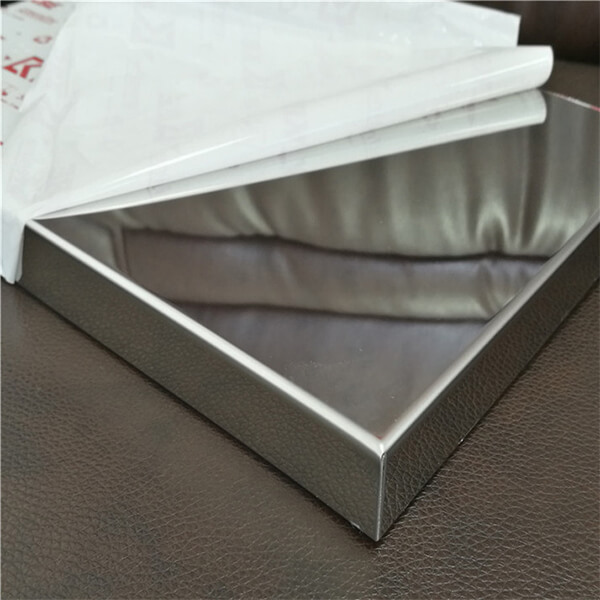
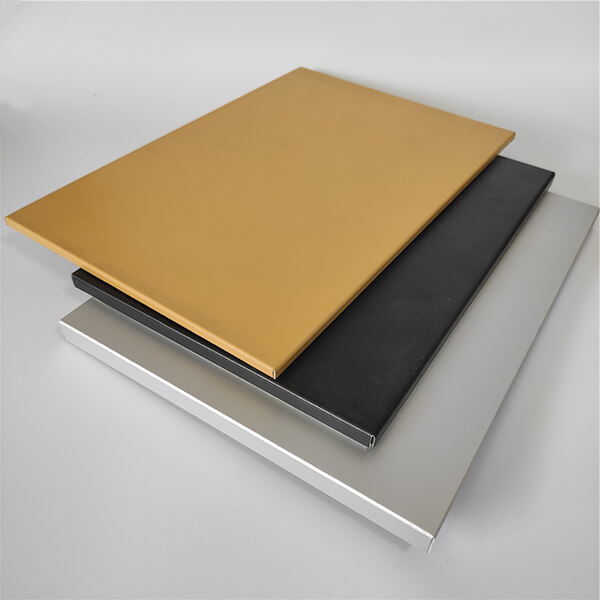
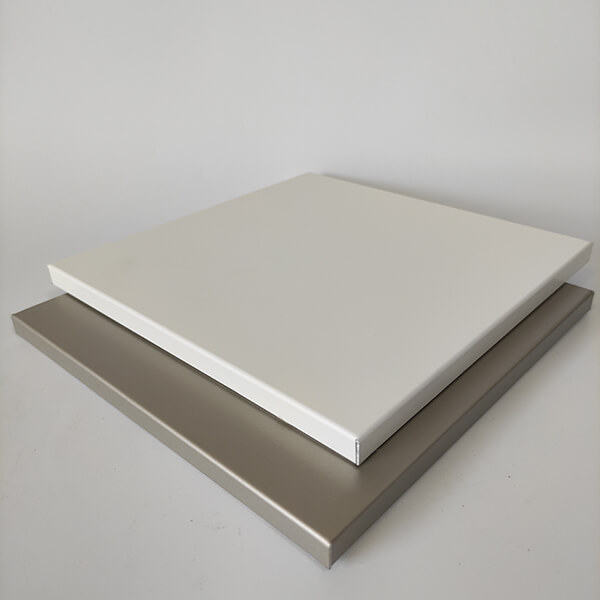
Aluminum honeycomb panels are widely used for wall installations due to their lightweight, high-strength, and fire-resistant properties.
They offer durability and modern aesthetics, making them ideal for both interior and exterior applications.
You may be curious about how to fix the aluminum honeycomb panels to the wall. There are several methods to install aluminum honeycomb panels on walls, depending on the application and panel thickness.
1. Adhesive Bonding:
This method is ideal for lightweight panels and clean, flat surfaces. You can use high-strength construction adhesives such as epoxy or polyurethane adhesive to bond the panel to the wall. Apply the adhesive evenly across the panel’s back surface using a notched trowel, then press it firmly against the wall. Adhesive bonding ensures a seamless, smooth finish and is commonly used for interior installations.
2. Mechanical Fastening:
Mechanical fasteners, such as screws or rivets, provide additional security, especially for exterior or high-load-bearing installations. Brackets or clips are often used to secure the panels in place, ensuring that they remain attached even in harsh conditions. This method is typically used for thicker panels or where additional structural support is needed.
3. Aluminum Profiles or Framing Systems:
For large-scale or exterior applications, an aluminum framing system is commonly used. Vertical or horizontal aluminum profiles are attached to the wall, and the panels are fixed into the frame using clips or fasteners. This method provides excellent structural stability and allows for easy panel replacement if needed. It’s also a preferred solution for exterior cladding and facades, where weatherproofing is essential.
Proper installation not only ensures a sleek, modern look but also enhances the panel’s fire-resistant and load-bearing properties, making it a long-lasting solution for any project.


